| Europa Crash Pad Restoration |
By Jerry Rude
February 2015
Replacing the dash top in a Lotus Twin Cam Europa Special with the windshield in place.
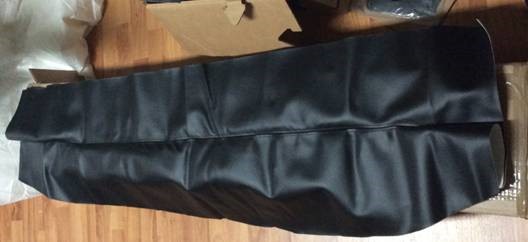
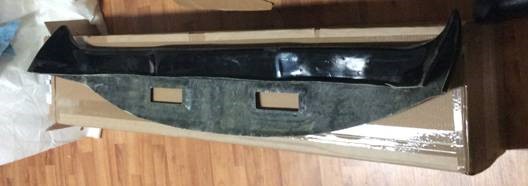
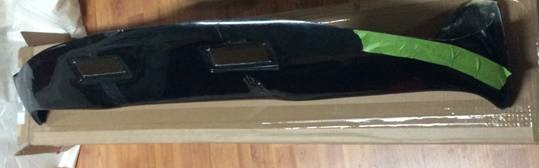
About a month ago I jumped into the Europa to go for a short drive and noticed, much to my dismay, the dash top had finally cracked. I have been dreading the dash top cracking since I restored the car in 2000 and knew it would give it up at some time, heck, its only 40 years old. So I gave Ken Gray a call at Dave Bean Engineering, and purchased a Banks Dash Top kit. Here are pictures of the contents, two shots of the fiberglass base, and one of the vinyl covering. No instructions, but fortunately there is an article by Michael Hilt on Jerry Johnson's website on how to do the install. This article is a supplement, as I installed it with the windshield in place, and a few different twists.
Okay, so the first item to attend to is the removal of the old dash top. After removing the fascia, gauges, console, seats, air vents, demisters & bezels, I broke the old dash off up close to the fiberglass lip of the window channel. The material was very brittle but the foam not too bad, and using a screwdriver, carefully, I simply pushed down and it broke off fairly neatly. On my 73 TCS, the plastic extends under the windshield seal, and is riveted down to the fiberglass window channel. Lotus Service Bulletin #73/20 (available on LotusEuropa.com) shows how the factory was having trouble with the plastic shrinking back from the channel and apparently this was their factory fix.
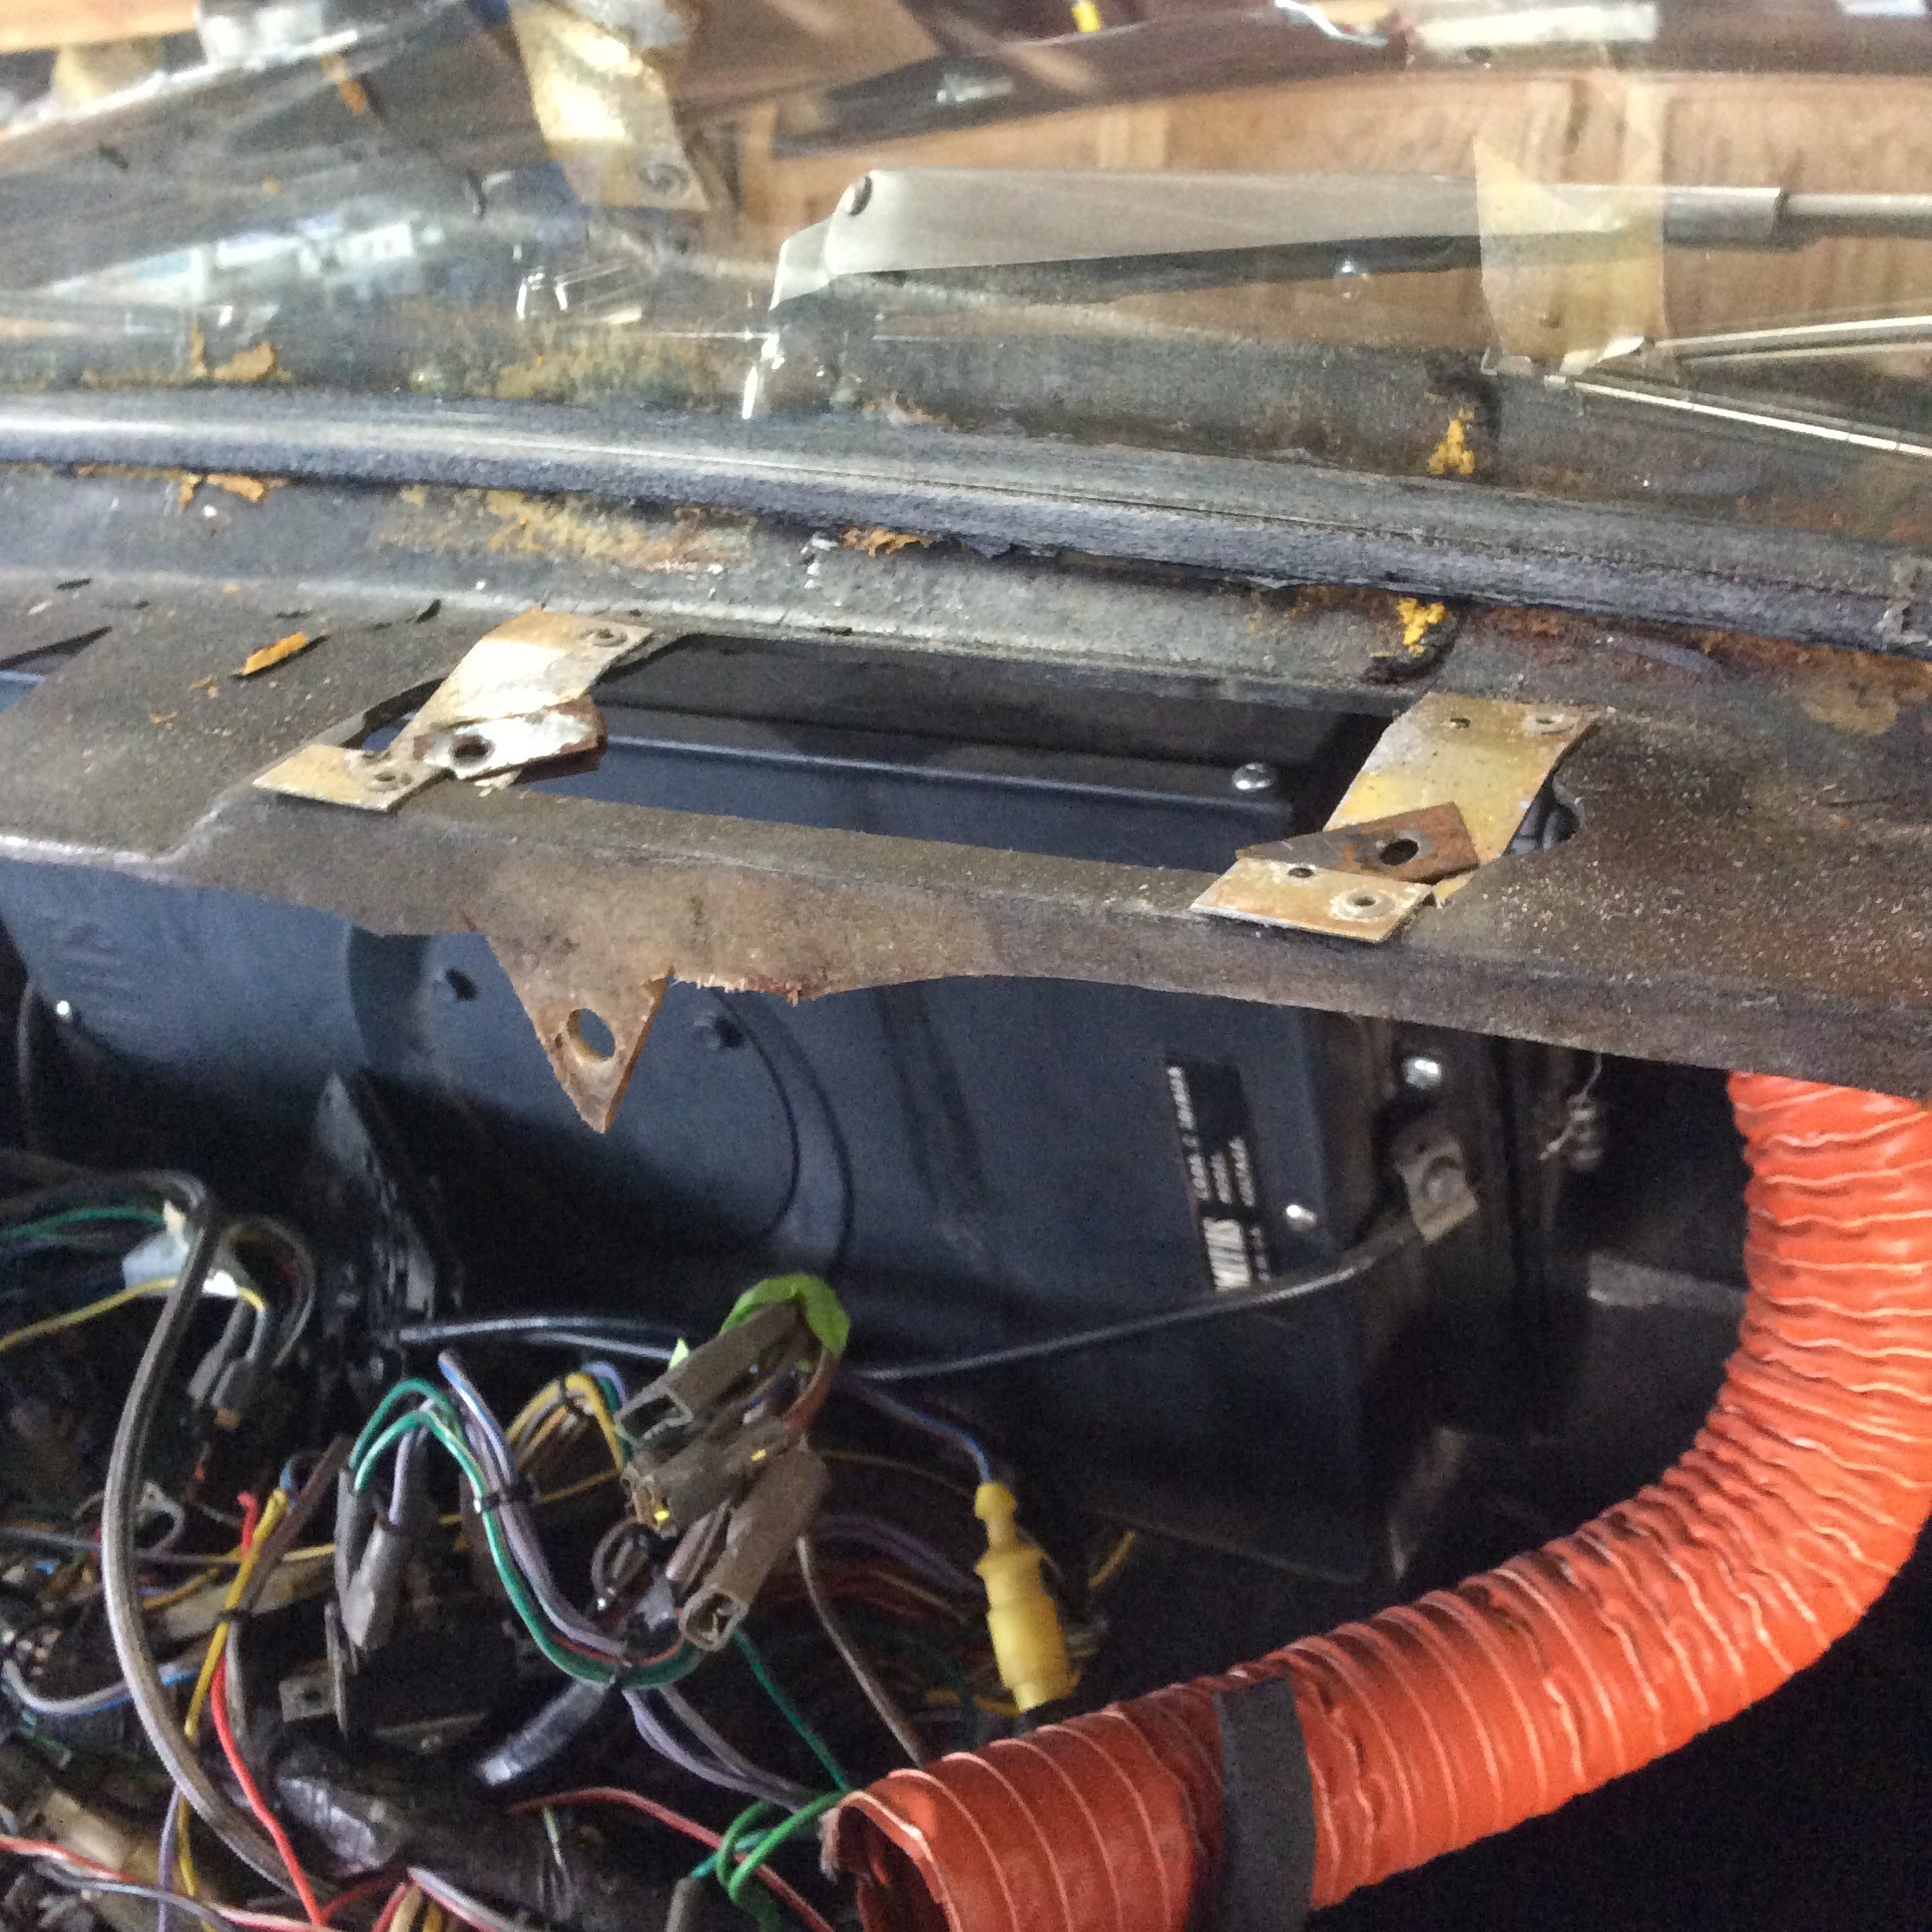
The foam strip you see between the windshield and the demister shelf is called a 'dam' to prevent the urethane windshield adhesive from spilling over on top of the dash pad. This was installed by the windshield installer back when I had to have it replaced during the restoration in 2000. Its just a 1/4 inch square strip of foam rubber with adhesive on one side. I plan on positioning the edge of the new dash top squarely in the middle of the 'dam'.
So, next is fitting the dash top in place. I put a piece of tape in the center of the dash top and marked center, and the same for the center of the car. Once in place, I noticed the top demister vent openings were off center by roughly 1/2 inch towards the left. Some have moved them over to align with the openings in the demister shelf, but I chose to keep them where they were since it isn't noticeable and it is a bit of work.
I taped up the leading edge of the top for marking purposes, and set the piece in place. Then, I marked where the edge had gaps, sanded down the edge, fitting, marking and sanding until it was smooth with minimal gaps. I did the sanding mostly with a hand sander as the edge is very thing and the material will come off easily, so be careful not to over do it. I would mark before sanding and sand up to the mark so I can tell how much I removed, trying to guess about how much is needed never has worked for me. I then removed a 1/4 inch strip at a time in the forward direction only, and repeated the fitting process until the rear fascia lip fit up against the demister shelf where the dash bolts to, with about 1/8 inch left for a crush fit on installation.
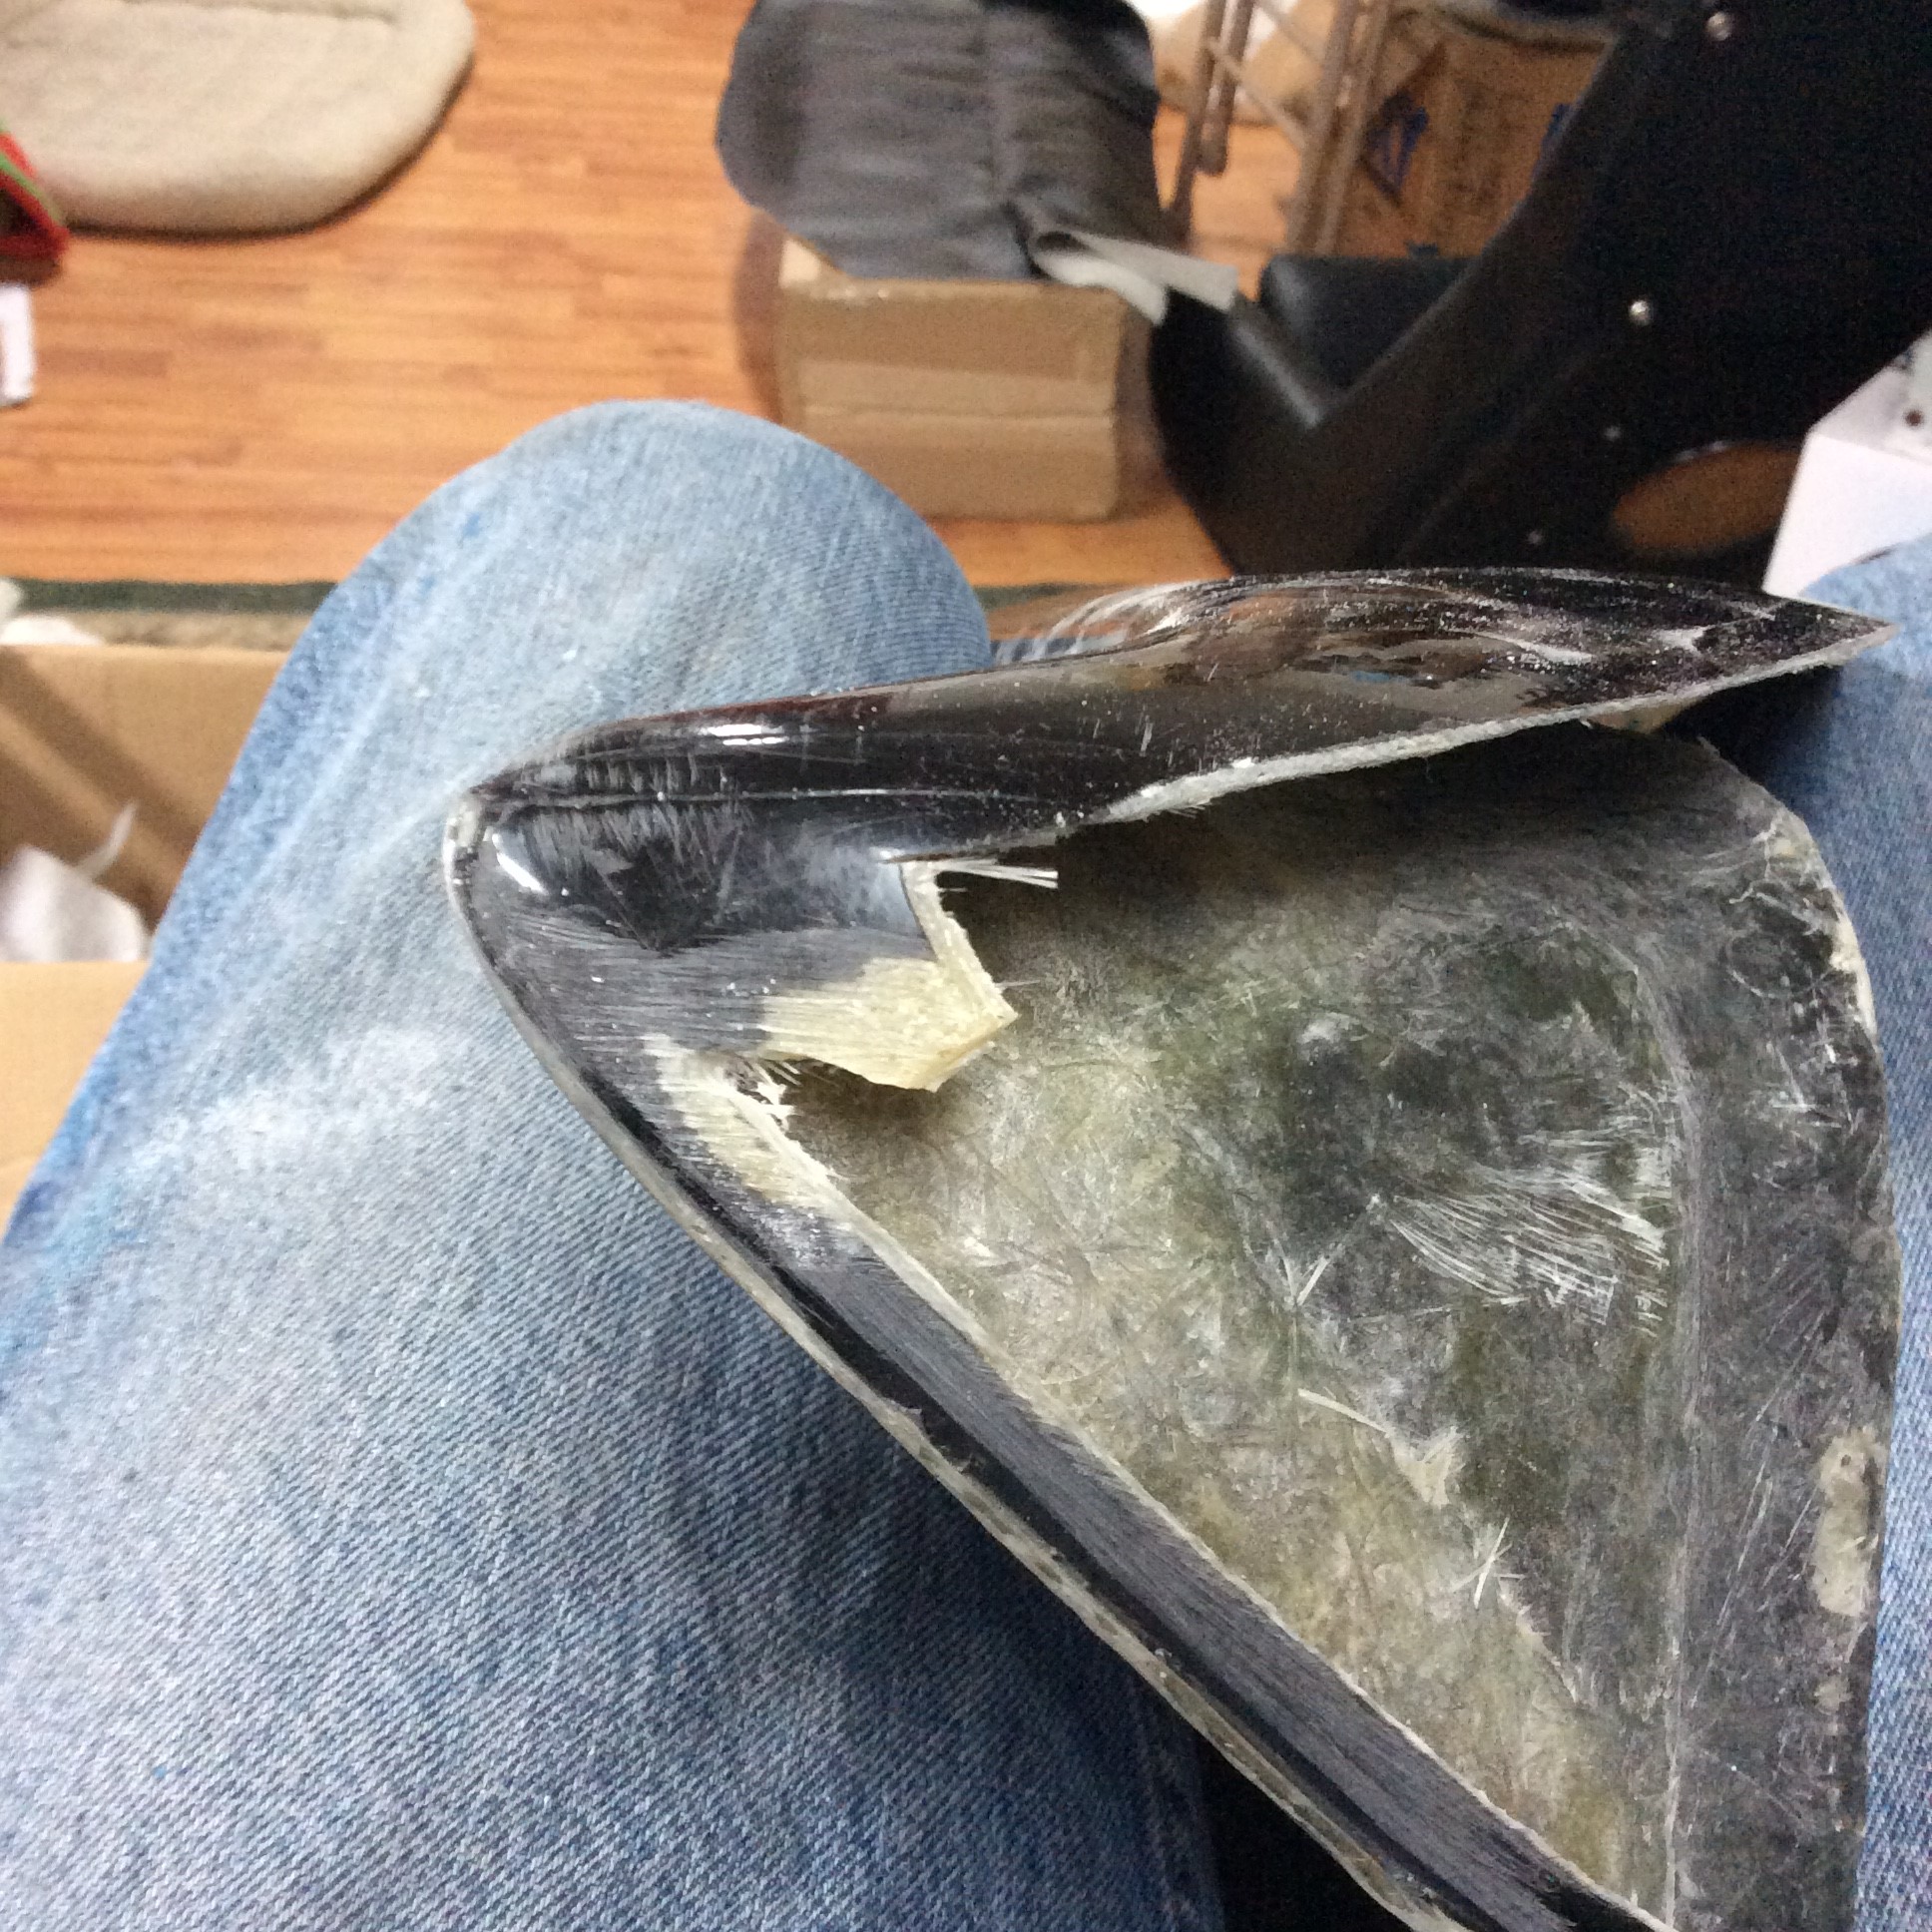
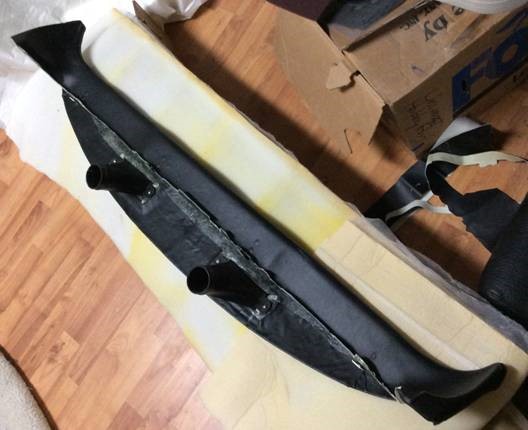
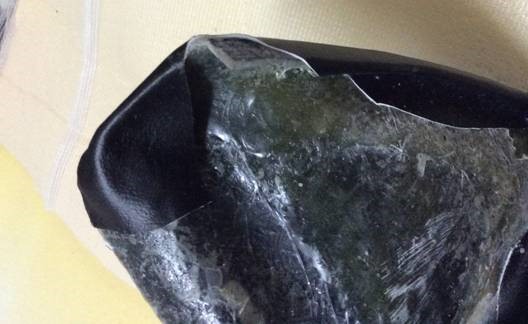
Each end of the dash top can be installed either under the windshield channel lip or on top. The article by Michael Hilt installs it under, leaving the lip exposed on each side of the demister shelf requiring a piping strip to cover it up. I chose to install the dash top so it sits on top of the lip, necessitating a lot more of the top be trimmed at each end. Here is a picture of one of the ends as trimmed.
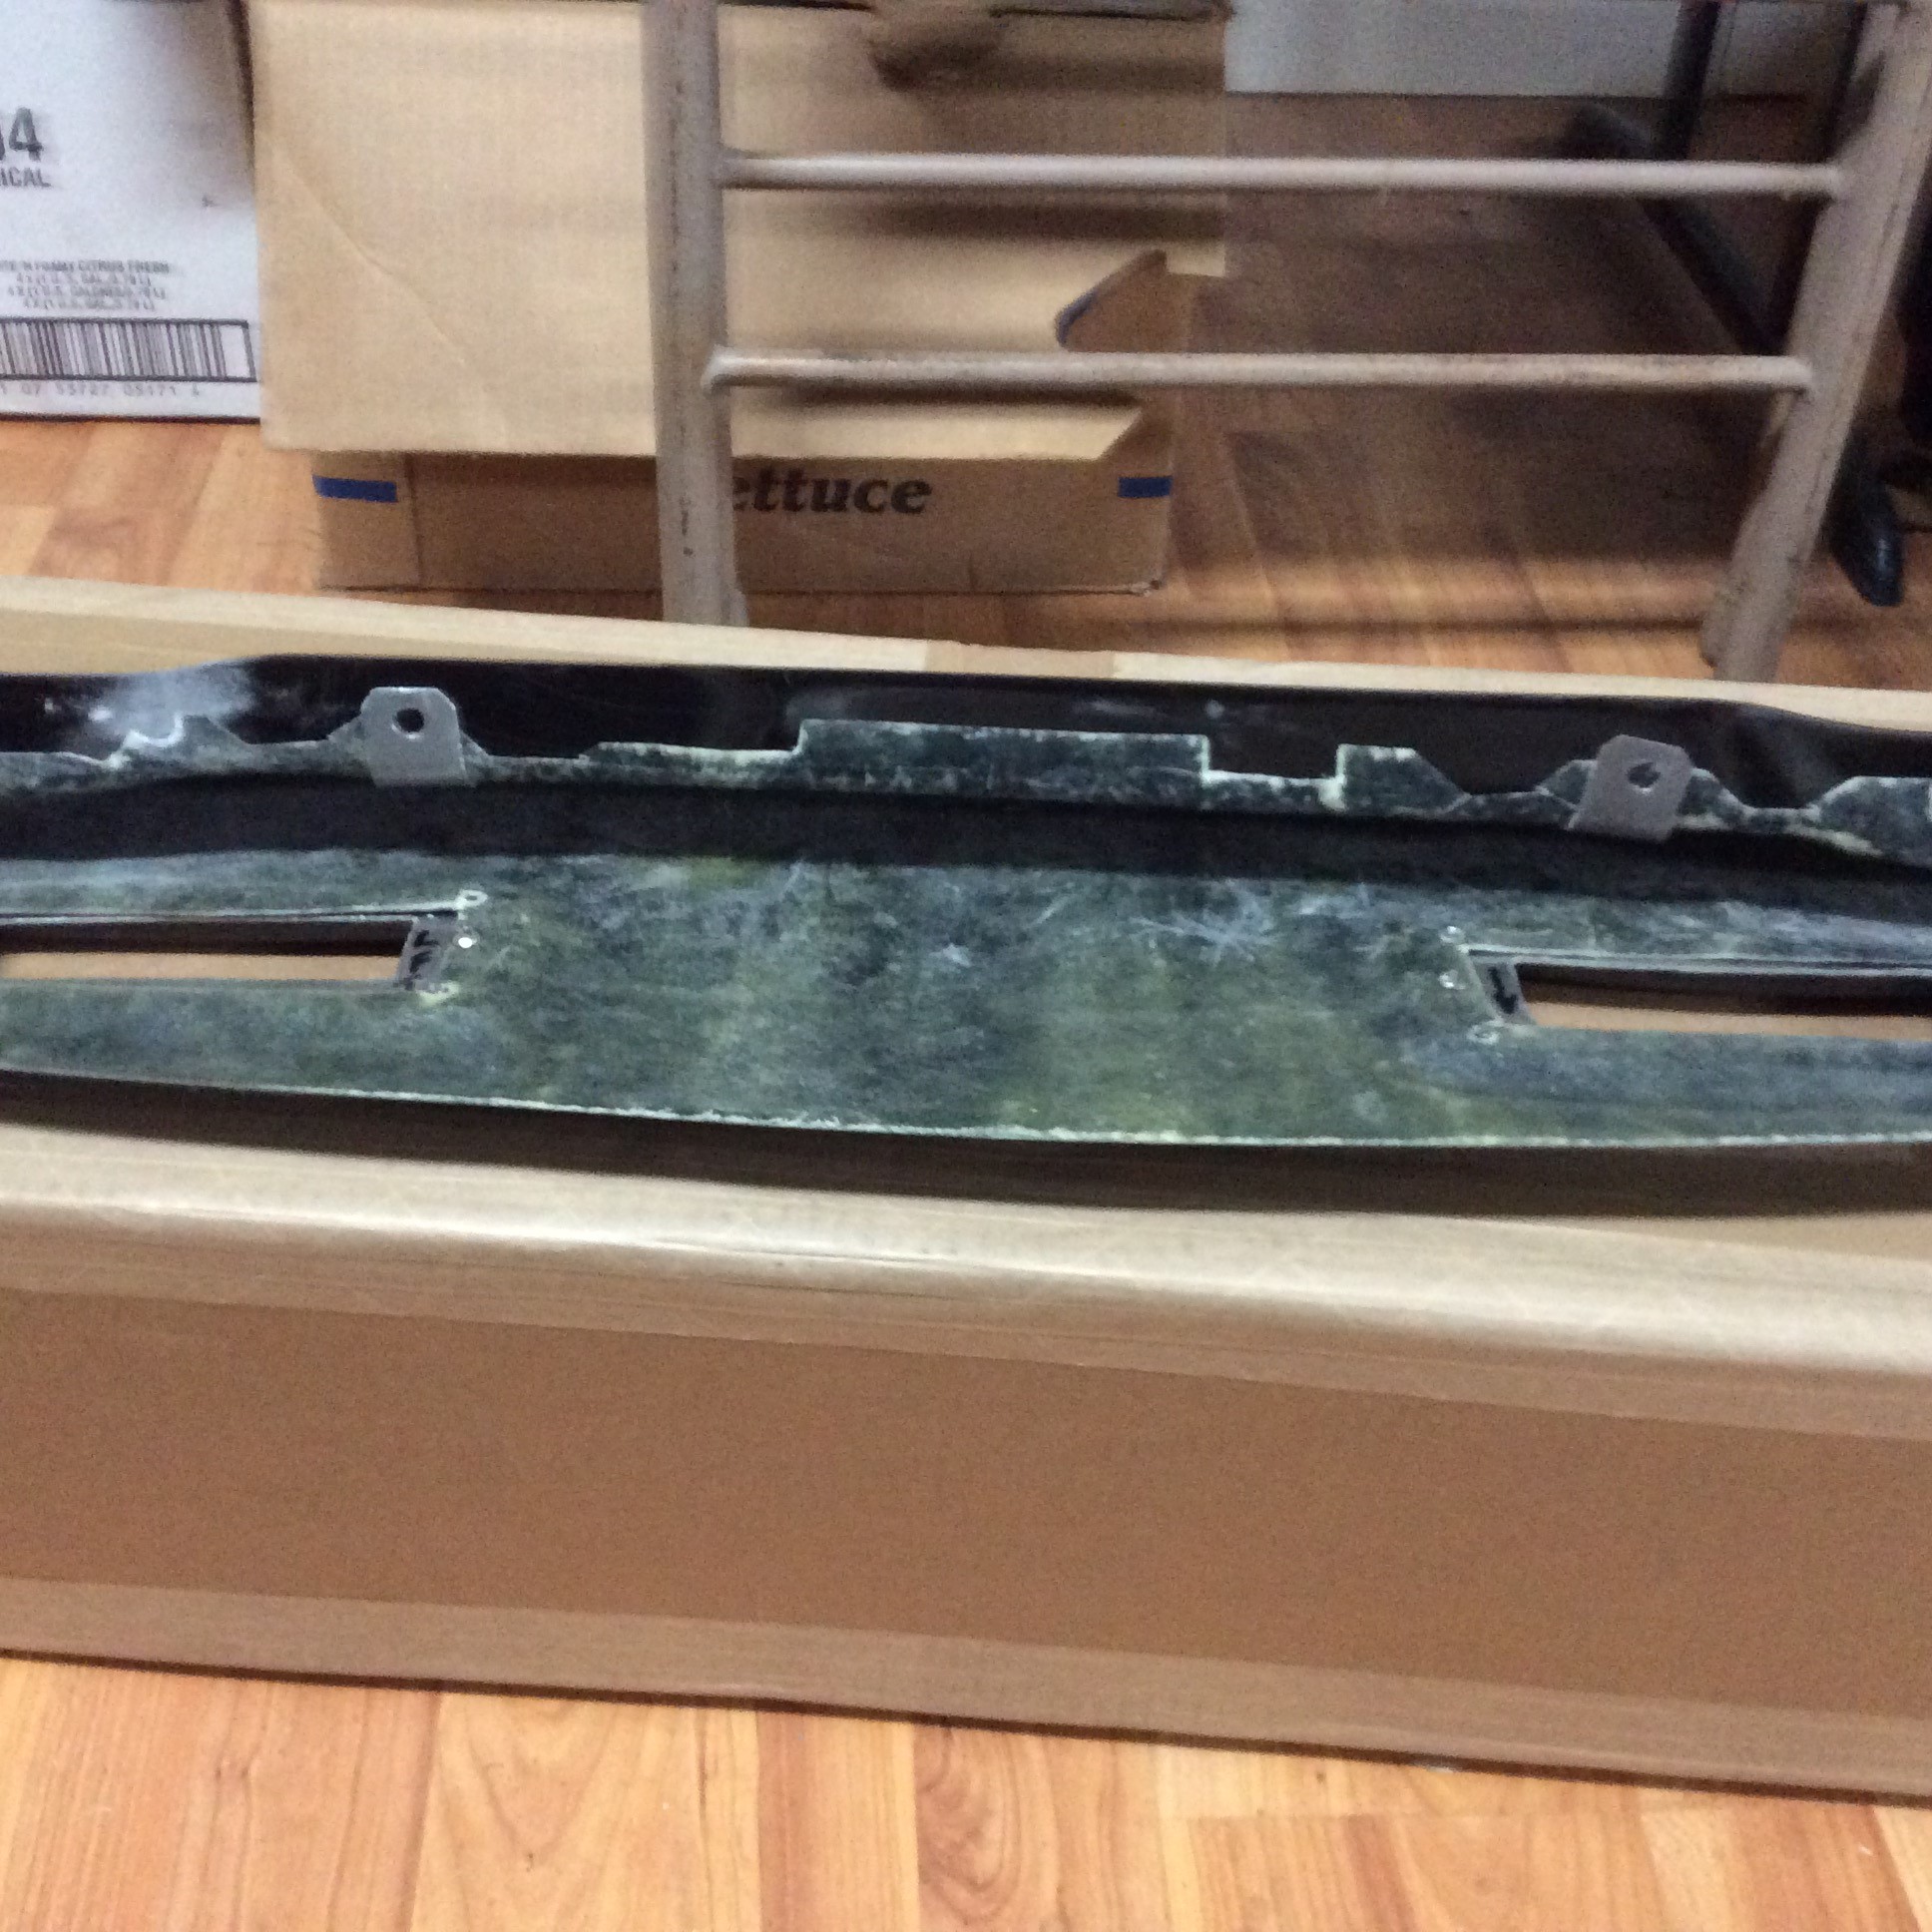
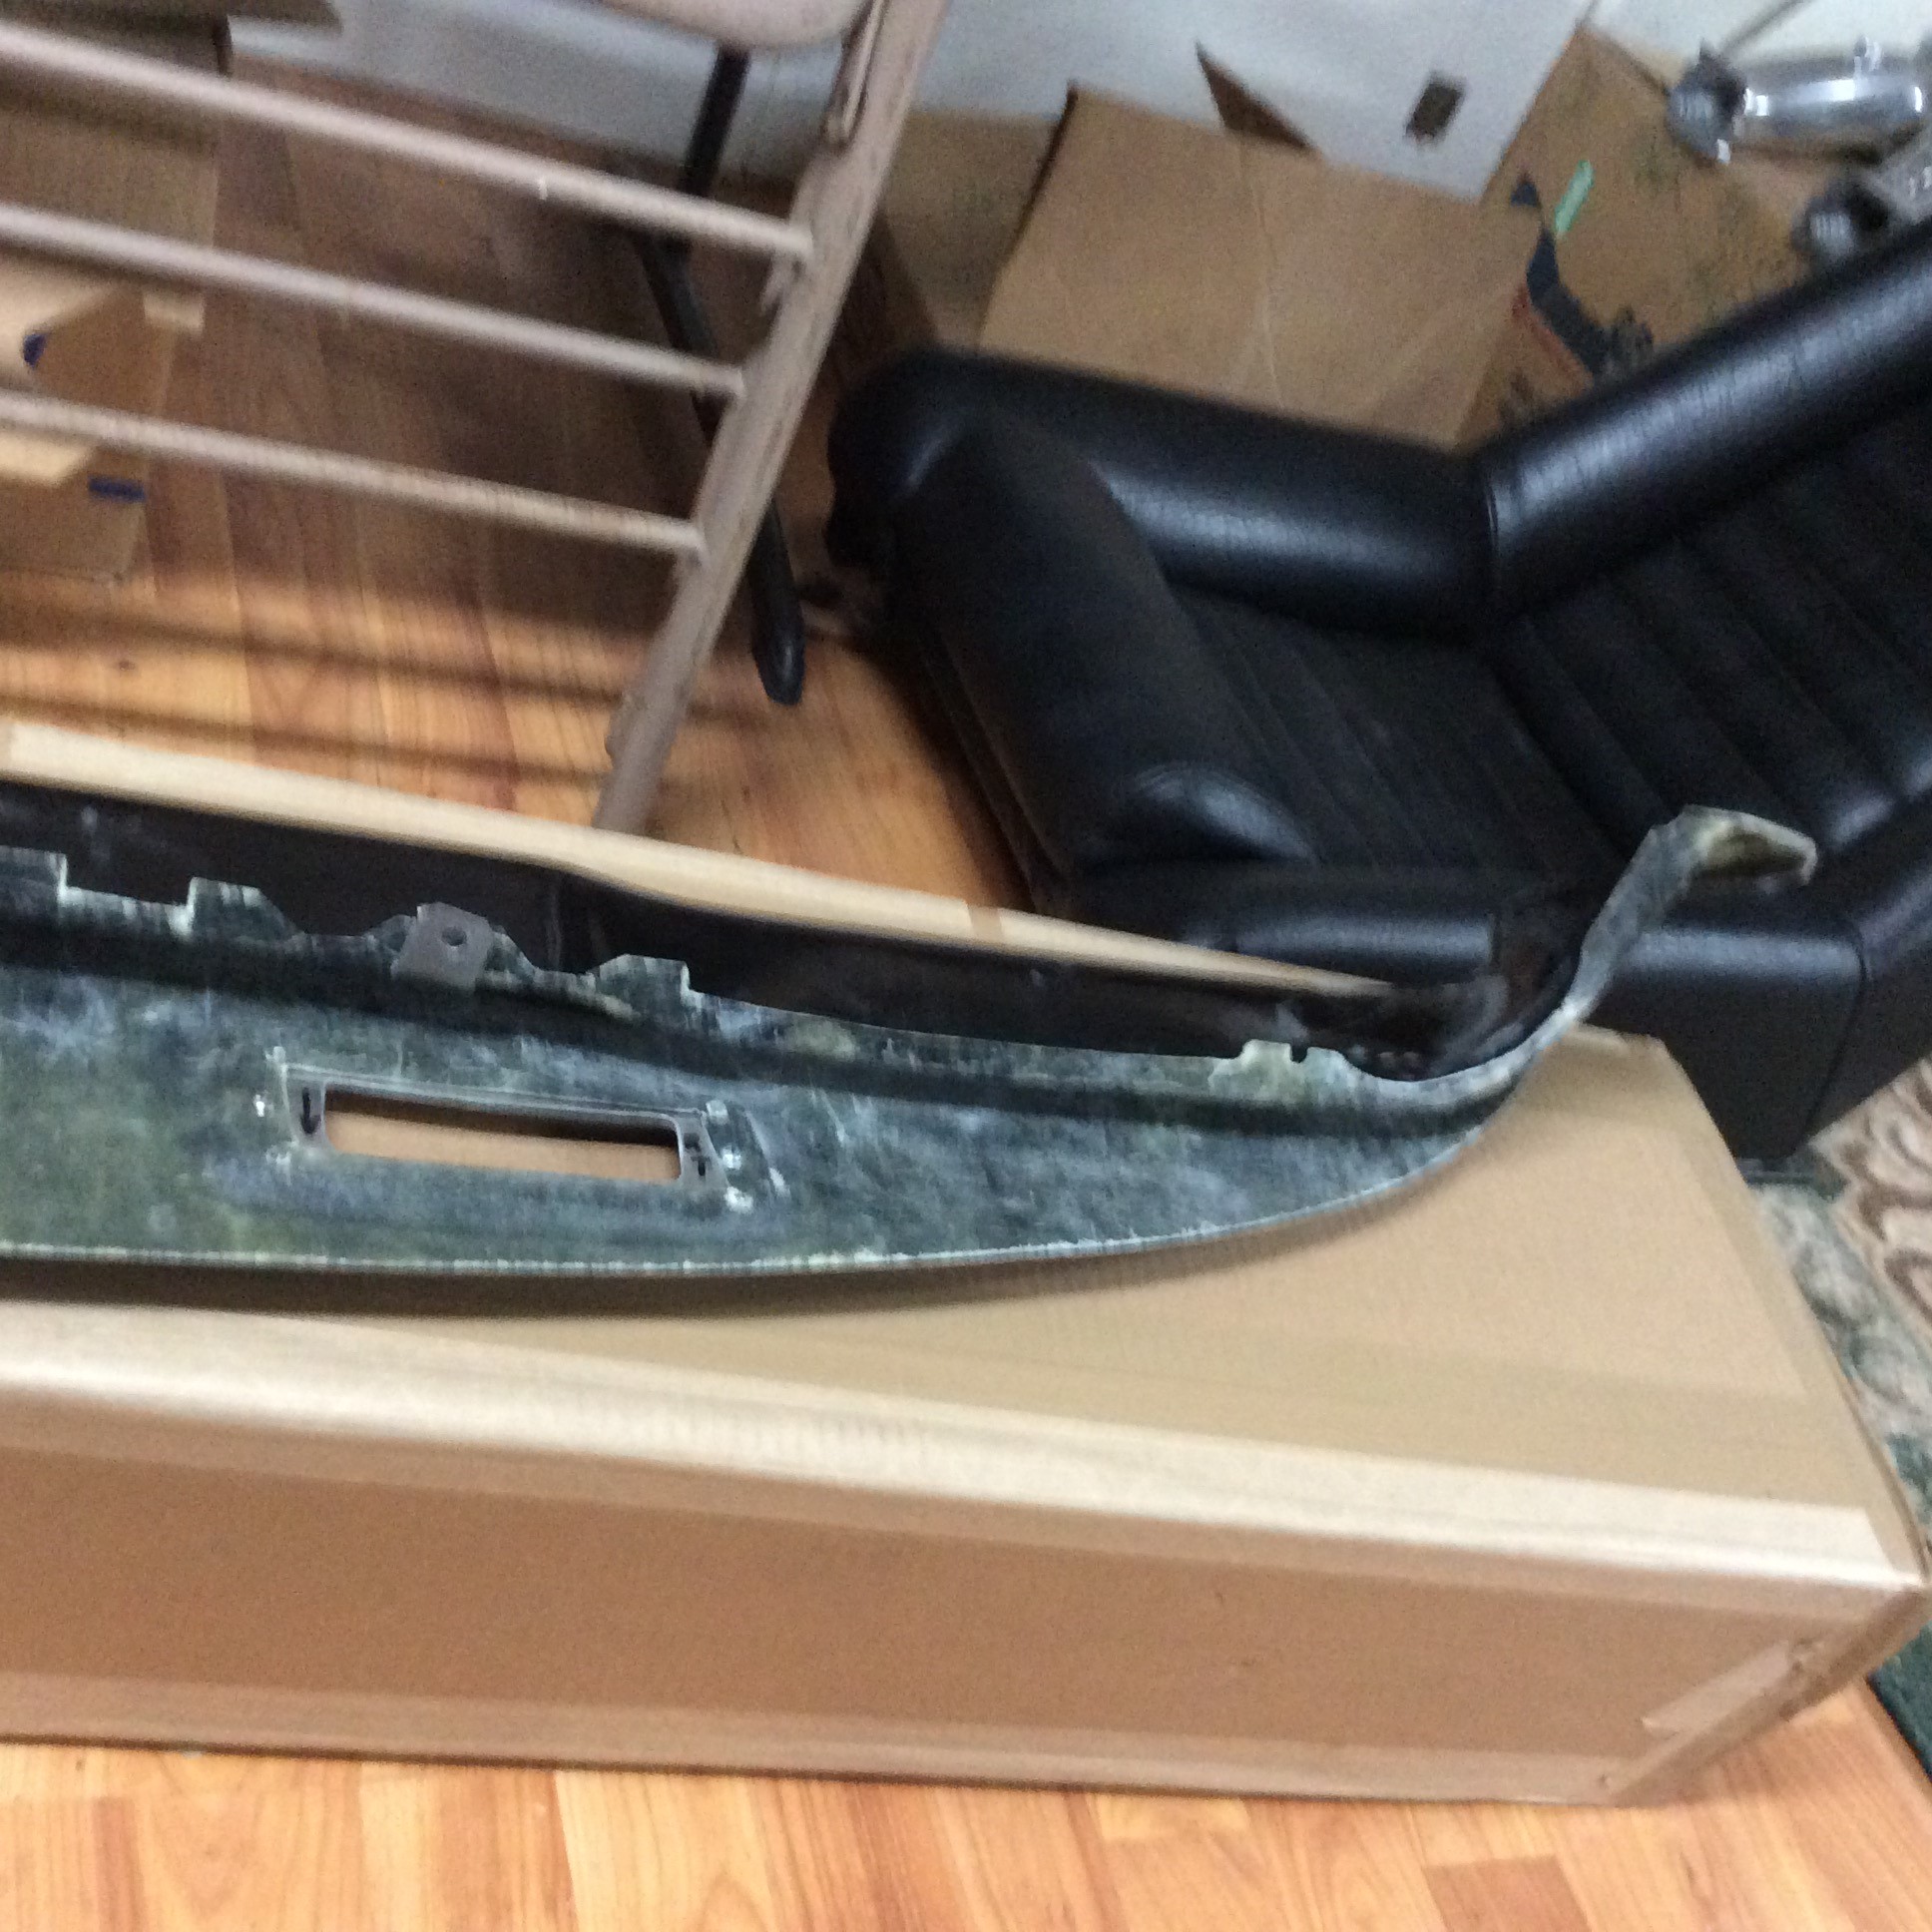
I then trimmed the rear dash top lip where the fascia fits in so that it cleared all the guages, glove box, binnacle, switches, etc. using the wood fascia as a guide. To keep the dash top attached in the rear, I made 4 tabs from .040 aluminum and pop riveted them to the dash top as shown (only 2 are shown installed when I took the picture), again using the wood dash facia as a guide for the hole placement.

Once all trimmed and fitted, I modified the demister bezels. I wanted to be able to remove them without having to remove the screws on top since they are so difficult to get to. I made a .040 aluminum plate that fit into the bezel depressions in the dash top and cut a hole in them to match the hole in the bezel. Then I sanded the bottom of the bezel flat to match the plate, and screwed the bezel to the plate. Note that the bezels were 1/4 inch or better wider, front to rear, than the depressions, so the plate is a bit smaller than the bezel outline. I then chamfered the front and rear of the bezels so that they fit down into their respective depressions, and drilled holes in the plates for #8 sheet metal screws using the demisters as a pattern.
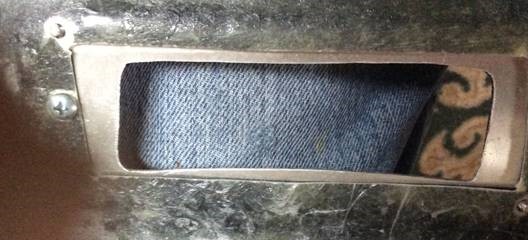
Above pictures are shown without the demisters installed, the two center screws will hold the demisters. Note the clearance holes for the bezel screws.
I then set the dash top in place, and fit the demisters up to the top through the holes in the demister shelf. I removed the old demister plates riveted to the shelf, and had to trim a little off the shelf holes, because of the dash bezel offset, to fit them up.
Now its time to install the vinyl to the top of the dash top. I considered thin open cell foam, closed cell foam, and no foam under the vinyl. Since the new dash top is thicker where it overhangs the wood fascia than the original, and a hard dash is pretty common, I decided to go without foam at all. I would recommend you mark the center of the dash top overhang with a marker so that when you lay down the vinyl stitched seam you can keep it centered on the overhang. I started with the seam, spraying the seam and the overhang center first, and laying it down from the marked centers out. I then secured the leading edge side with binder clips, and glued the other side to keep it from moving while stretching out bubbles and creases. Then after doing the other side, I laid the vinyl over the leading edge about 2 inches and then trimmed for gauge/switch/glove box/binnacle clearance on the trailing edge.
Its now ready to install but upon the first trial, I noticed it had a tendency to droop at the front edge, exposing a little color of the demister shelf so I cut and placed 4 hard rubber shims, glued to the demister shelf at spaced locations as necessary to keep the front up level with the foam strip.
I highly recommend you use a good adhesive to attach the vinyl to the top. I used Fast Tack 92 made by Sprayway, a Hi-Temp Heavy Duty Trim spray-on adhesive made for vinyl car tops. Most upholstery stores should have it or something similar. It has a superior bond strength than anything else I've tried, and its even better than the standard glue used by the pros. I just did my Austin Healey's interior, and had to resort to this stuff to keep things in place after trying various 'professional' glues.
So a summary:
1) You can replace the dash top w/o removing the windshield, but the fitting phase is
more difficult. Since the windshield removal and reinstallation is such a pain, I would
have to recommend not removing it unless you have to do it anyway.
2) Fitting the top to go over the outer edges of the windshield lip eliminates the need for any special trim strip to fit between the leading edge of the dash top and the windshield.
3) Screwing the demister bezels to the dash top plate, rather than the demister shelf allows the bezels to be removed by the screws underneath the top, rather than above. Note that the new top isn't as flat as the original, putting the bezels even closer to the windshield.
4) Installing tabs on the dash top to attach it to the demister shelf/facia keeps everything tight since the dash top is very thin and flexible and should be attached to something at its rear.
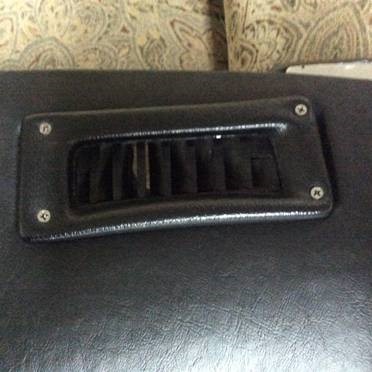
Final demister bezel in place with demister attached underneath and plates painted black so the edges don't stand out.
Note the above just barely covers the lower outside edge of the top, so be careful with placement of the vinyl so that it covers all.
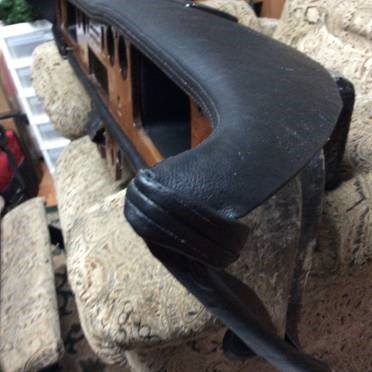
Here is how I wrapped the seam around the end.

Looking down on right edge where it sits over the windshield channel lip.
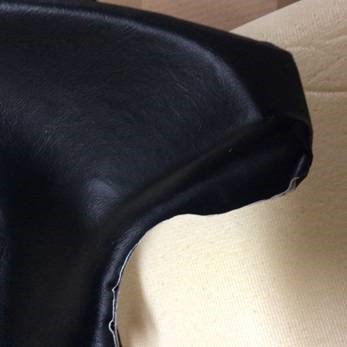
The worry of the vinyl fitting into the concave contours at the ends is a non issue as it fit well with no difficulty.
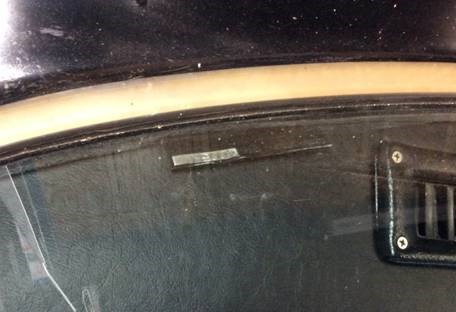
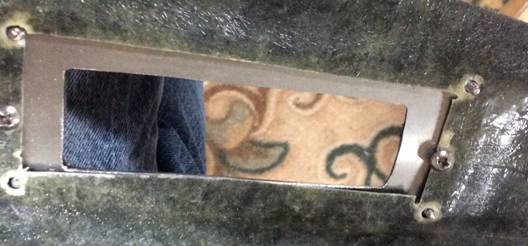
Don't mind the dirt or reflections, but here is the fit around the VIN plate which worked out nicely.
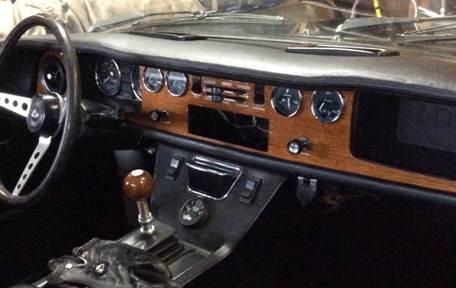
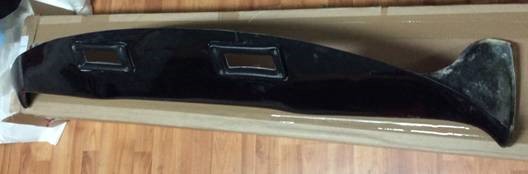
Here is the finished product, waiting for radio installation.
I hope this article helps with the question to remove the windshield or not, or to center the bezels. I don't notice the offset, unless I look straight at the radio, leaning over the console and focus on the issue. Since they are slightly to the left, it should give the driver slightly better demisting, at least here in the States (LHD).