| Elise 1K Service |
The following photos were taken at a Club111/GGLC Tech seminar hosted by Silicon Valley Auto Group in Los Gatos on Nov 13, 2004.
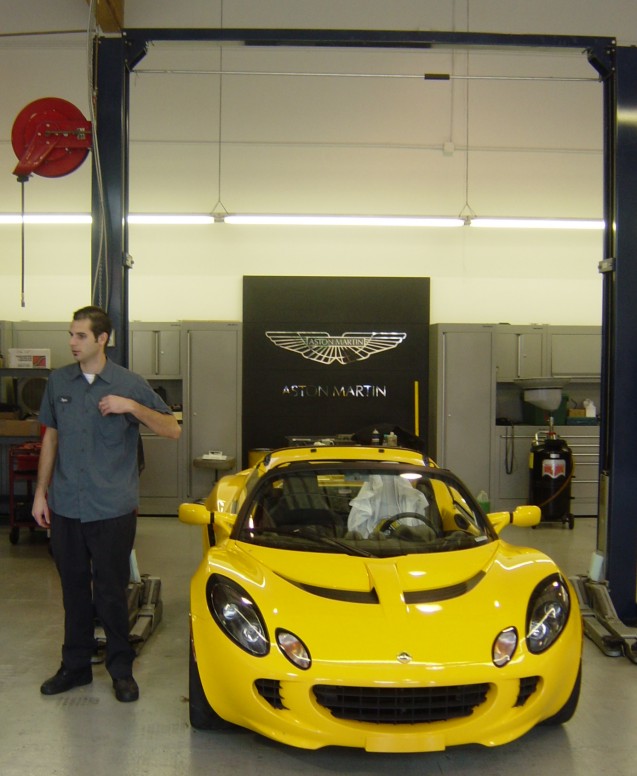
The folks at SVAG were kind enough to host a tech session for GGLC & Club111 members in Nov 2004. One of their Technicians, Ryan, was there to demonstrate and do a 1,000 service on a member's Elise. Here then is description and a few photos of what he did.
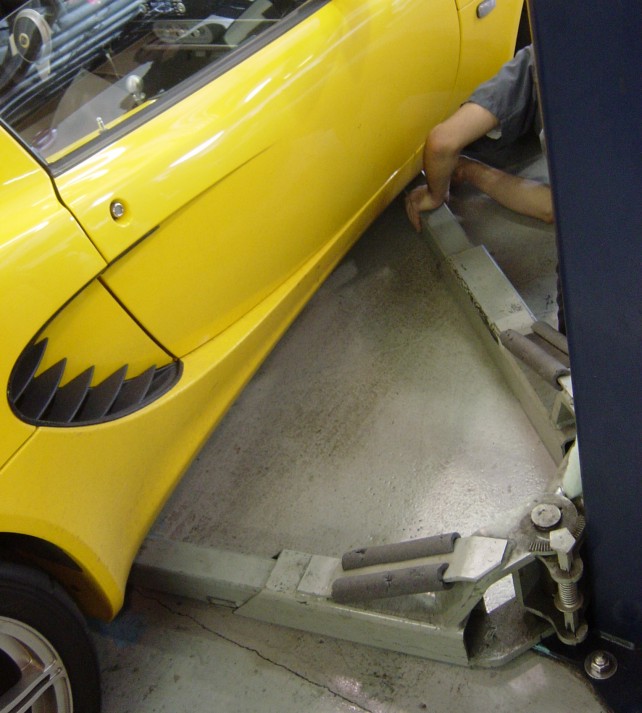
STEP 1 - Ryan backed the Elise into the 2-post rack. The Elise must be backed on due the rear bias weight distribution.
FIG 1
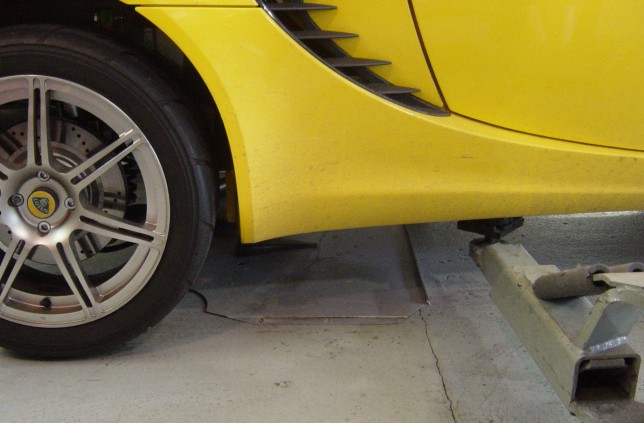
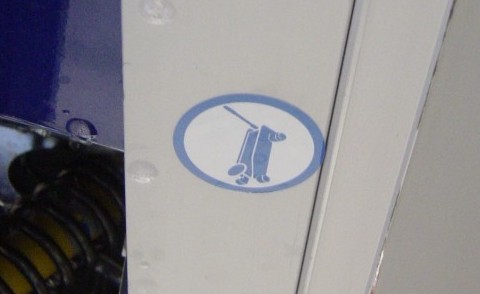
STEP 2 - Ryan placed a single arm under the Elise just under the rear-most jacking point. The Jacking-point is designated by a blue sticker on the underside of the car. He then raised the car just enough to gain enough clearance to access and remove the bolts holding the engine undertray.
FIG 2
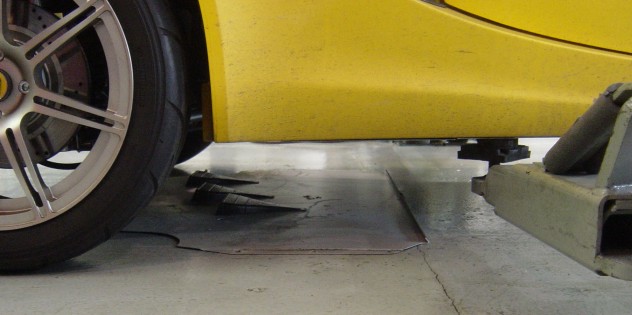
STEP 3 - The engine undertray is removed.
FIG 3
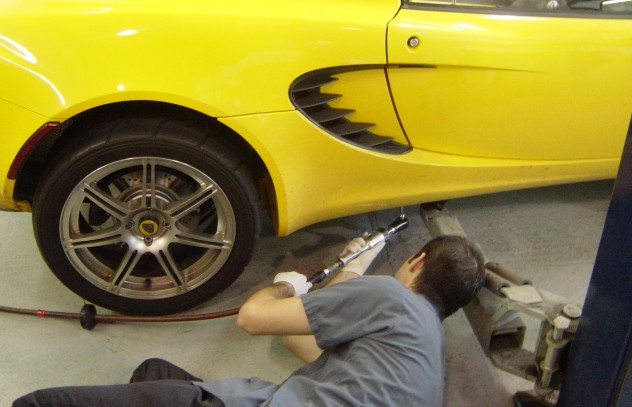
Tray on the floor under the car.
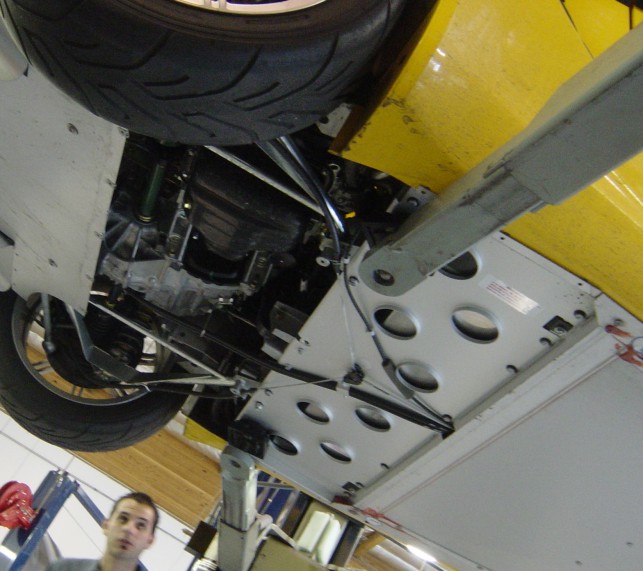
STEP 4 - The Elise is lowered back onto the ground and the lift arms are relocated. One arm to the front and the rear arm goes
to the jacking point under the engine.
FIG 4
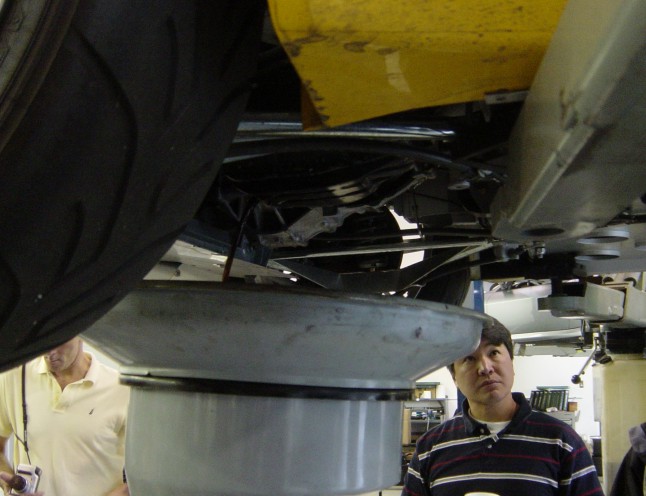
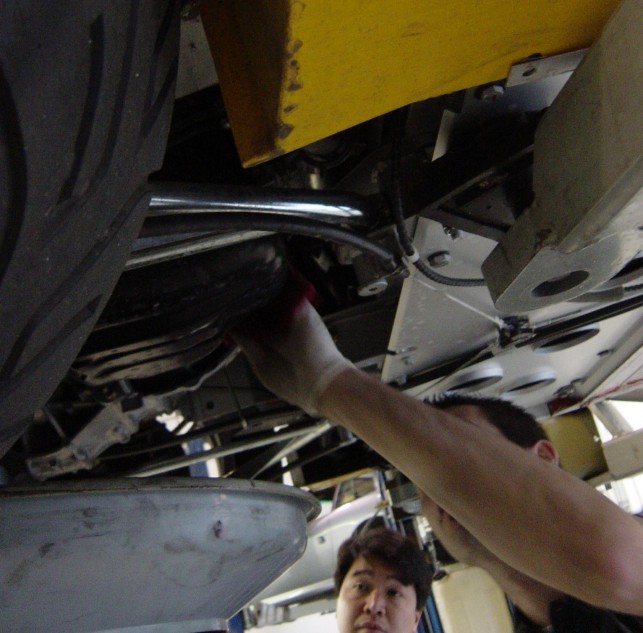
STEP 5 - Lifting the car you gain access to the sump and oil filter. Note the location of the arm for the lift. There is
cross member that goes across the car where the lift arm is placed. The sump drain plug is at the back of the sump & the oil filter
is facing the front of the car.
FIG 5
STEP 6 - Drain plug removed and oil is drained. This does not drain oil from the oil coolers. The oil flow to the coolers is
themostatically controlled. Draining the oil coolers would require undoing the lines at the coolers and then bleeding the system to
remove any air. Lotus does not recommend draining the oil coolers during a typical oil change.
FIG 6
STEP 7 - Oil filer is removed and replaced with a new filter. Hand tighten, then turn 1/4 turn past the point where the oil filter
gasket contacts the engine. Replace the drain plug with a fresh sealing ring (copper or factory fiber).
FIG 7
STEP 8 - The car is lowered back onto the ground and oil is replaced. 5W40 Havoline Synthetic is used. The car is started, check for
pressure and leaks. Then reverse the lifting sequence to replace the undertray.
FIG 8
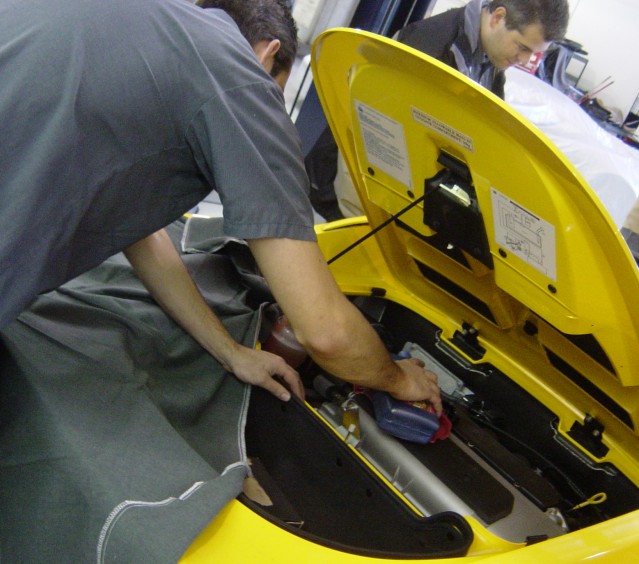
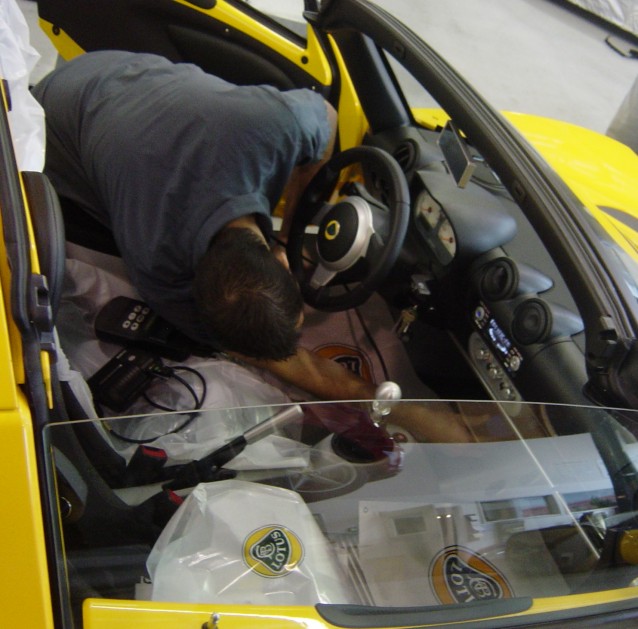
STEP 9 - Next the Lotus Scanner is plugged into the car. The plug is located just under the center of the dash
FIG 9
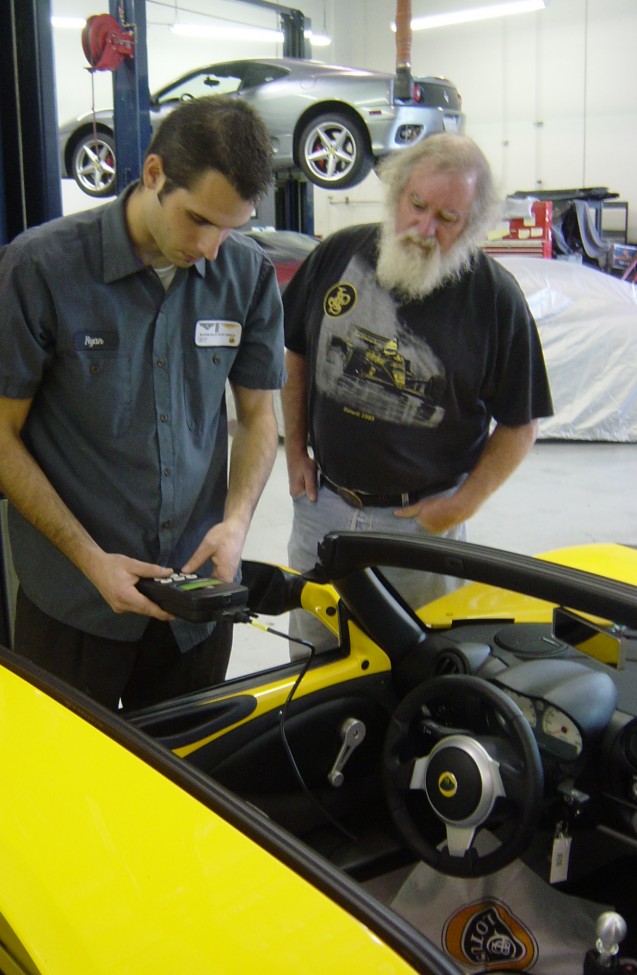
STEP 10 - Finally the ECU information is downloaded to the scanner (with ignition on) and the a printer is connected to the
scanner and a printout is made. The print out is then sent to Lotus along with the inspection sheet/report.
FIG 10
The car is inspected for tire pressures, coolant levels, brake fluid levels, suspension tightness, brake condition and other general maintenance items.